How to Reset a Faucet
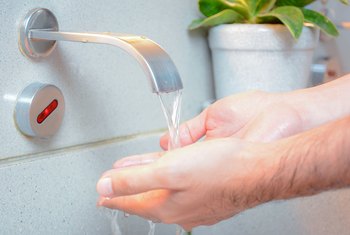
Automatic faucets have made their way into the home. You can add a touch sensor or motion-activated faucet anywhere a regular faucet is used. These faucets are handy because they don’t require turning a handle to get access to water. For any number of reasons, the faucet may quit working. When the touch-sensor or motion-activated faucet quits working, the first place to check is the battery compartment. Replace batteries as needed. After replacing the batteries, the faucet make require a reset to work.
Locate the battery compartment under the sink and remove the dead batteries. Some automatic faucets have a red light-emitting diode that flashes when batteries are getting low. The light is found near or on the battery compartment.
Open the battery case and realign the batteries with the positive and negative poles in the right positions according to the layout in the battery compartment. Close the battery compartment. Make sure it locks completely before continuing.
Locate the reset button, if any, on or near the battery compartment, after changing out batteries.
Push the red reset button to reset the faucet.
Test the faucet to ensure the reset corrected the problem.
Tip
Not all automatic faucets have red reset buttons. Some faucets just require inserting new batteries or realigning the batteries in the compartment to complete a reset. on the faucet. Check the instructions that came with your automatic faucet or locate the user’s guide online at the manufacturer’s website.
Kitchen area Faucet Mend – No Much more ‘Sob’ Operas
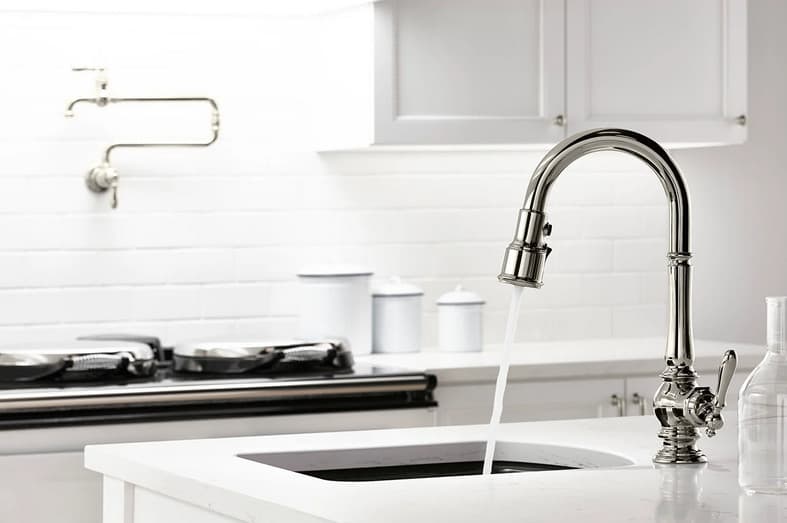
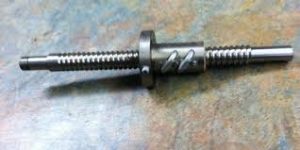
Exhausted from all that cooking, its time for you to hit the sack. But you will find some thing in your kitchen area that’s certain to place your splendor snooze in mortal jeopardy. Is it that creaky kitchen area cabinet that you choose to vowed to established proper when undertaking the next transforming task? No, truly it’s a thing more innocuous. It can be the kitchen’s leaky faucet that appears to have launched into a singular mission of decimating all your comfort. Take it easy, you will find a perfectly pragmatic option in sight for this ubiquitous difficulty. Kitchen area faucet restore, the same as kitchen faucet set up, could seem incredibly difficult, even so the point on the make a difference is it truly is kid’s perform. Be it a bronze kitchen area faucet as well as a brass kitchen area faucet, you’re never ever far away through the remedy of the best way to restore a dripping kitchen faucet superior ball screw repair.
Know the system inside of out
Right before you can get to find out the intricacies of kitchen area faucet restore, it can be essential to familiarize on your own together with the doing work of a kitchen faucet. Kitchen taps are classified in to four various types- the cartridge kind, compression, ball and disc form. While the cartridge, ball and disc style of faucets have single handle control, the compression style of faucet is characterised by dual handles for both equally scorching and cold water. The truth is this sort of faucet is armed with washers and seals, some thing one other 3 absence. The existence of O-rings and neoprene seals ensure that you can find no leaks.
The reasons for those annoying leaks
Before undertaking any repair work, it’s important to diagnose the root cause of this galling problem. A faucet leak in the kitchen may be caused by worn out washers, seals or O rings. Even the presence of antiquated inlet and outlet seals may be the reason for the kitchen faucets not being up to snuff. Sediments in the inlet valve may lead to a leaky faucet.
Steps to fix that leaky faucet
Here are a few steps that are sure to put an end to this obnoxious problem:
* Firstly, turn off the hot and cold water valves. Loosen the screw at the base of the handle and remove the faucet.
* Make sure you line all the parts of the faucet in the order in which you remove them, so that putting them back does not seem to be like a jigsaw puzzle.
* Put a piece of tape around the plier to prevent any tell-tale signs of repair on the faucet.
* Remove all the inner parts by loosening the retaining nut.
* In case you find that the ball valve is damaged, replace it immediately.
* Replace all the springs and seals that are worn out.
* Remove all traces of sediments on the inner parts. Check for cracks on the O rings and gaskets.
How to fix a Ceramic disc faucets
Ceramic disc valves are simply another type of cartridge. Discs inside the cartridge control the water flow. This type of valve is sturdy and reliable and rarely needs fixing. In fact, many manufacturers offer a lifetime guarantee on the cartridge. If yours is damaged, check with the manufacturer to see if it’s covered by a warranty.
Leaks can result from faulty rubber seals or a cracked disc inside the cartridge. Since it’s difficult to spot a cracked disc, and disc cartridge replacements are very expensive, it’s best to start by replacing the seals and reassembling the faucet. Then if the faucet still leaks, remove the disc cartridge and take it to the store to order a replacement.
Early versions of ceramic disc faucets may be more fragile and can crack if subjected to a blast of pressurized air. That’s why it’s important to leave the faucet open as you turn the water back on. This allows air trapped in the lines to escape. When the water runs smoothly, it’s safe to turn the faucet off. Manufacturers have improved the strength of ceramic discs on newer faucets to withstand air blasts, as well as abrasive debris that may get dislodged from the inside of pipes.
Replacing the Faucet Valve Seat
In case the compression type of faucet is still leaking from its spout despite servicing the valve, then it’s possible that the faucet valve seat is nicked or cracked.
The faucet valve seat consists of a metallic component which is threaded and screwed into the valve base. You should use the seat type wrench to remove the faucet valve seat. This wrench resembles the taper hex type of wrench.
You’ll need to detach the valve once again. Then insert the wrench deep within the housing of the valve until it fills the hexagonally shaped hole.
Next, rotate the wrench in a counterclockwise direction to remove the valve seat. You’ll easily find replacements in your local hardware stores.
You can carry the old faucet valve seat with you when buying a replacement to ensure you purchase a matching replacement.